Interact with MySQL DB using Android’s WebView & PHP (Part 1: Setup & Preview)


Hello, everyone! Let me start by stating the requirements for this particular project. You MUST have the following installed before starting with the code:
Watch an installation tutorial if you have trouble setting up either of the two.
If everything is properly installed you should be able to create a new project in Android Studio. Let’s create a new project and name it “localhost” (you can name it whatever you want)
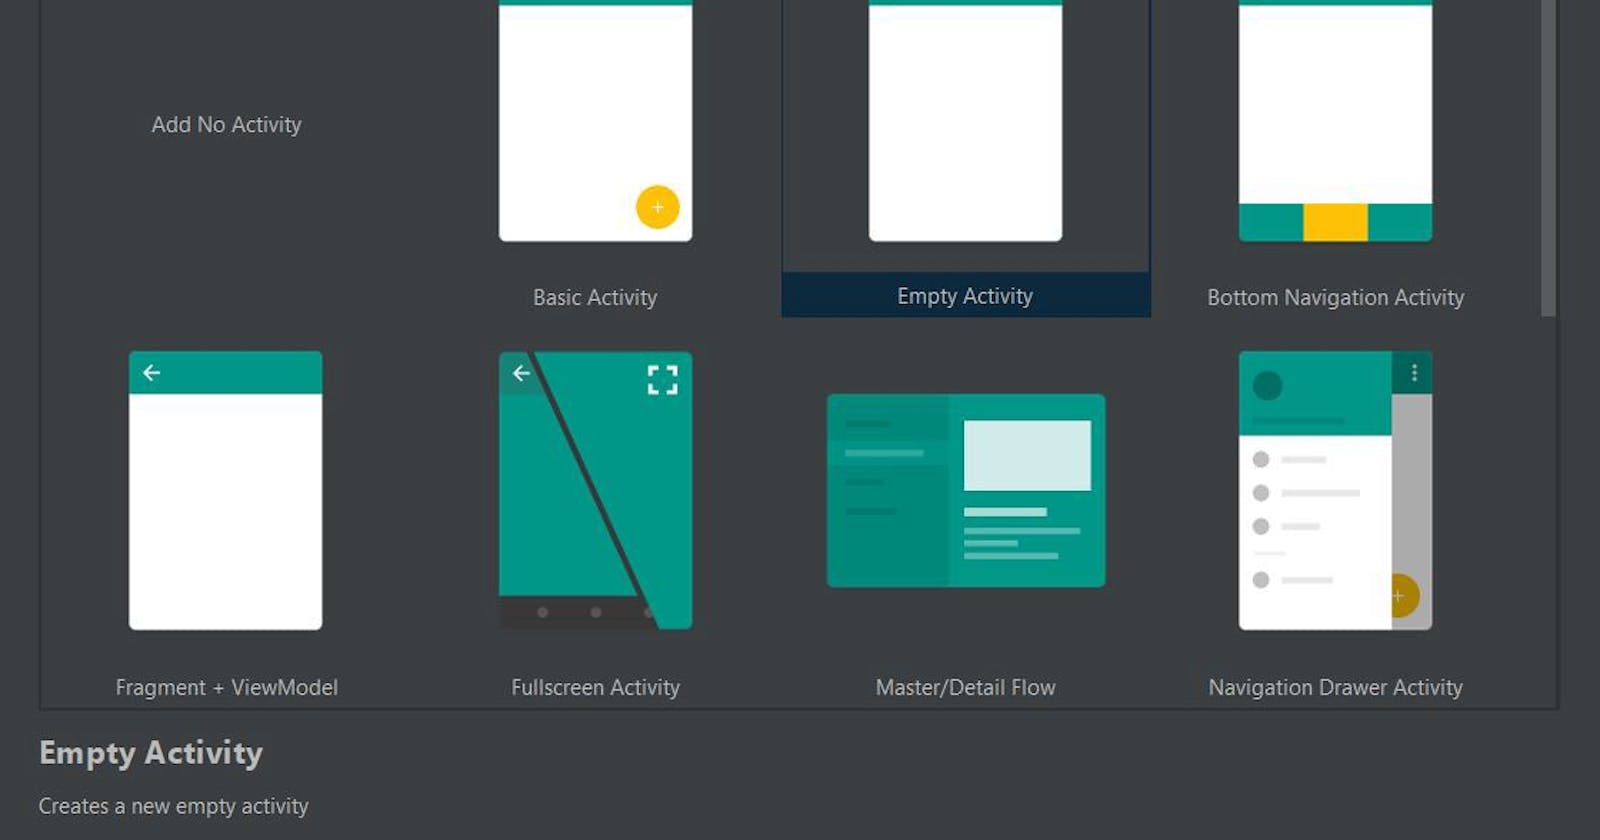
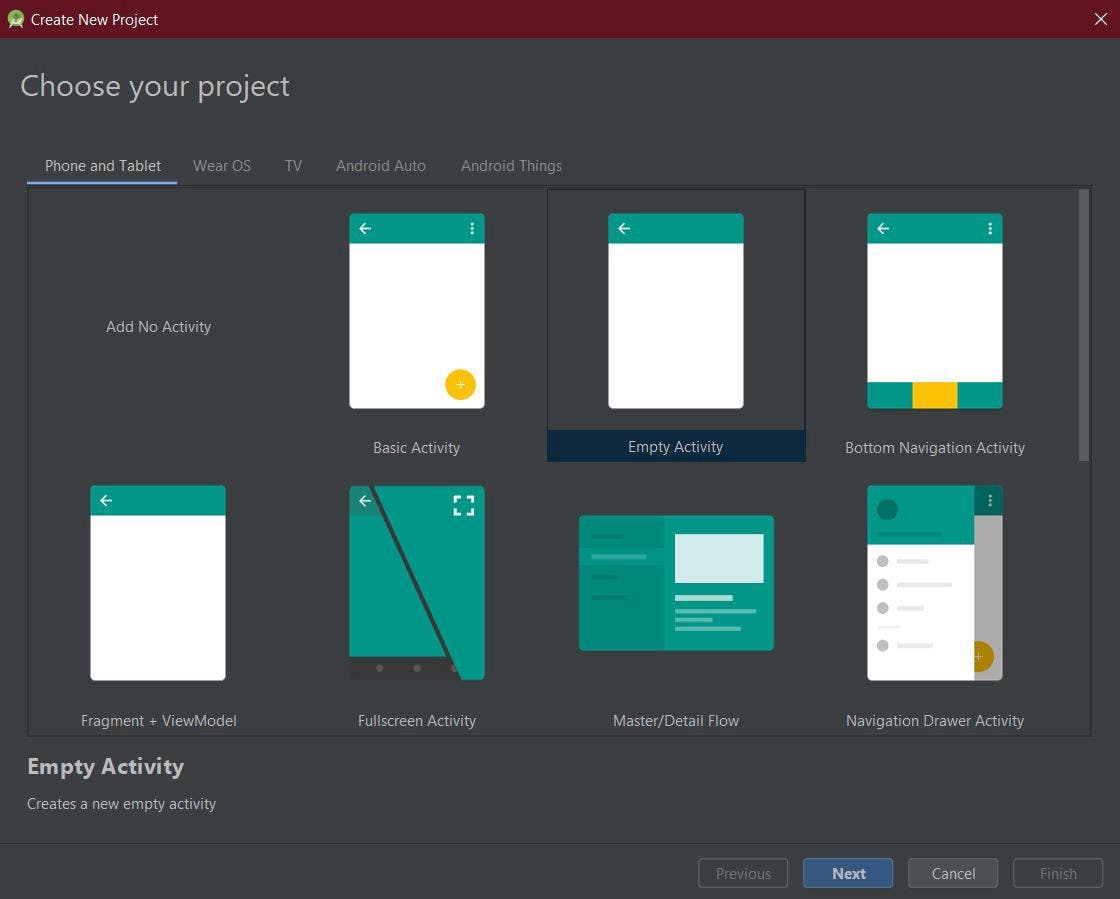 Select “Empty Activity”
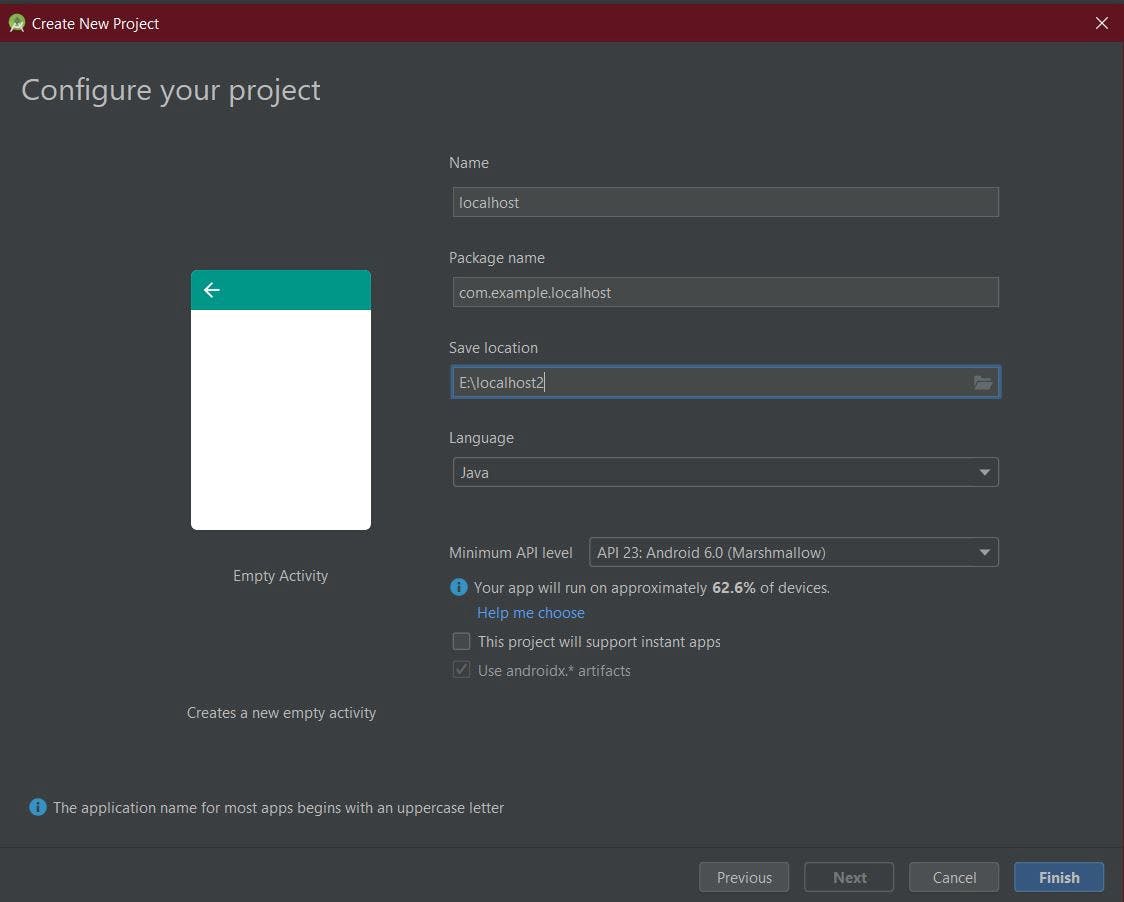 Give a name for your Android Application
On the other hand, to start working with your XAMPP server press “Win+R” and in the Run box type in the file location of xampp-control.exe which should be present in your xampp folder. My location reads “C:\xampp\xampp-control.exe”. You’ll be presented with a window, after you Hit “Enter”, which will look like this:
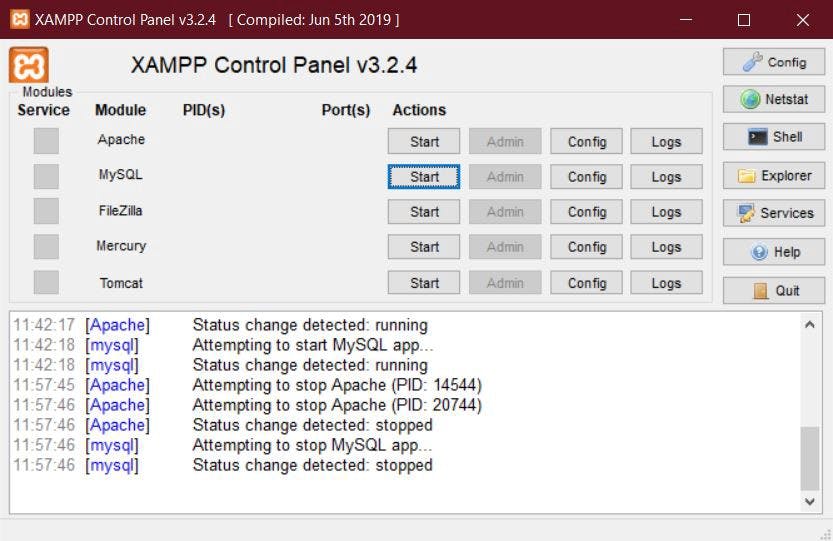
Hit “Start” corresponding with the Apache & MySQL modules. If there aren’t any port/PID collisions you should see these in the logs.
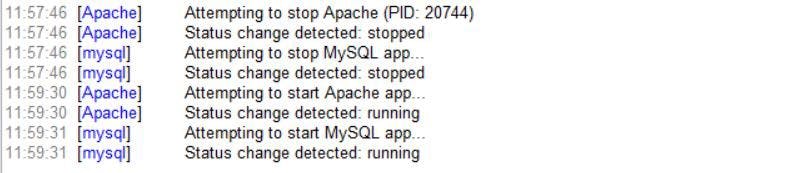 This means your server has started running on localhost
Open your browser and type “localhost” and you should see a XAMPP server page. Click on the “phpmyadmin” tab to access your MySQL DB which we will be using later.
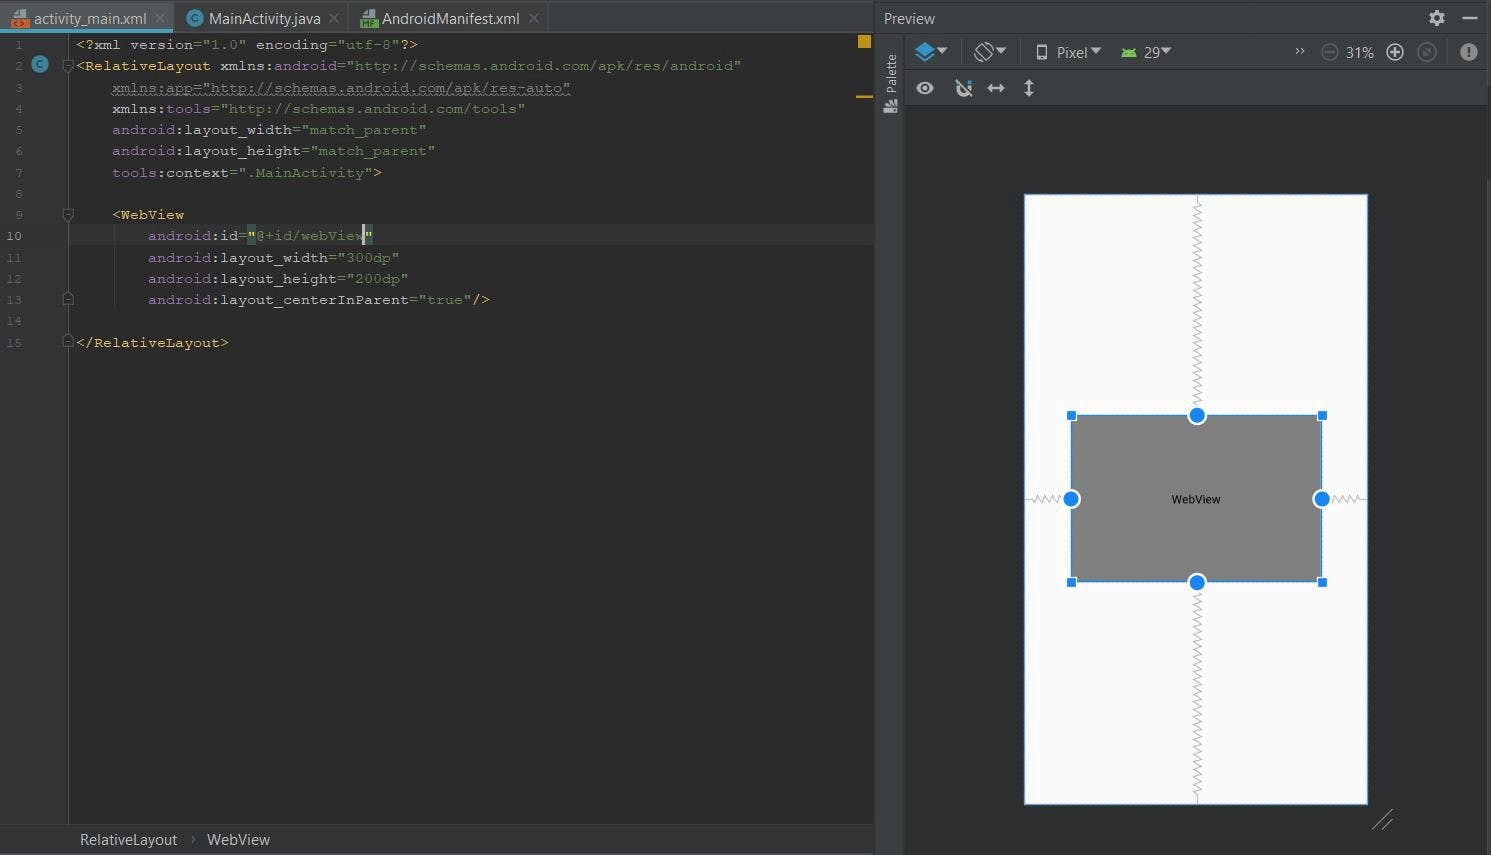
Now back to the Android Studio, go to your “activity_main.xml” and add a WebView component anywhere on your repsective layout.
Open your “AndroidMainfest.xml” file and add following line in between the <manifest> and <application> tags.
<uses-permission android:name="android.permission.INTERNET" />
Also, add the following inside your <application> tag
android:usesCleartextTraffic="true"
Now, let’s make either a simple php or html file containing some basic tags.
<!DOCTYPE html>
<html>
<head>
<title>Lorem Ipsum</title>
</head>
<body>
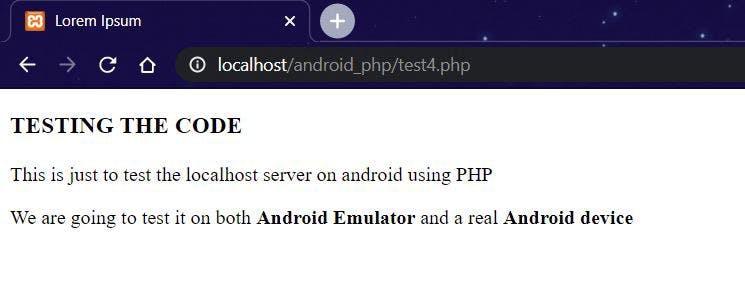
<h3>TESTING THE CODE</h3>
<p>This is just to test the localhost server on android using PHP</p>
<p>We are going to test it on both <strong>Android Emulator</strong> and a real <strong>Android device</strong></p>
</body>
</html>
Save your file as either a .html or .php file inside the “htdocs” folder inside the main “xampp” directory.
Next we will write our main code for the app. Add the following line in your “onCreate” method.
webView.loadUrl("http://{your IPv4 address}/{your file-name}.php");
To know what is your IPv4 address open CMD and type ipconfig and look for the IPv4 address under “Wireless LAN adapter Wi-Fi”. After this connect your Android device to your laptop/desktop and make sure both devices are on the same Wireless Network.
“Build & Run” your Android App and you should see this which is similar to the webpage you created
Similarly to run it on Android Emulator we will change the web address to 10.0.2.2:{your port-number} (your port-number is the port used by the Apache module in XAMPP which might be either 80/8080)
So the code will read:
webView.loadUrl("http://10.0.2.2:80/{your file-name}.php");
 This is the Emulator window for our application
So these are the basics of how you can run your localhost files on both Android Emulator and an Android device and as mentioned in the title I’m attaching the preview of our Main App which we will be covering in Part 2.
 Main App interaction with MySQL using PHP